By now you’ve had about a month to fiddle with that beautiful labor of love in your garage. Remember we talked about the first moment you two saw each other, and how wonderful (and painstaking) the process to completion would be? We told you about the importance of a good manual, and you scoffed but now hopefully understand what we meant. We advised a proper assessment, and reminded you to check the battery. We taught you a little about carburetors and how to clean a gas tank. We bonded over spark plugs and electrical checks, and even topped it all off with some oil change talk. We gave you some time alone to be with your bike, but we think you should be about ready for the last few steps in your final transformation.
Chains, Sprockets, or Skip: This really only applies to those bikes that have a drive chain and sprockets. If your bike is shaft driven, like many older bikes, this will not apply to you. If you DO have a chain and sprockets, check for rust and wear. Bikes left to sit for a long time, especially outside, should just have the whole system replaced for good measure. Need to know more on how, check that handy manual we suggested.
Pump the Brakes: Having good brakes just makes sense, right? Well there are two kinds for older bikes, disc brakes and drum brakes, so he’s the basic gist:
- Disc brakes are usually easier to maintain and have tons more stopping power. To check them, take a look at your rotors and make sure they are in good shape, you will most likely need to replace the pads (see manual). Next flush and bleed your brakes. Bleeding by hand may take quite some time (this is where the labor part comes in) so for those with less patience it is possible to acquire a vacuum bleeder. Last check the pistons for pitting and rust to see if you need to rebuild the calipers. In most cases it’s a good idea to just replace the whole thing anyway.
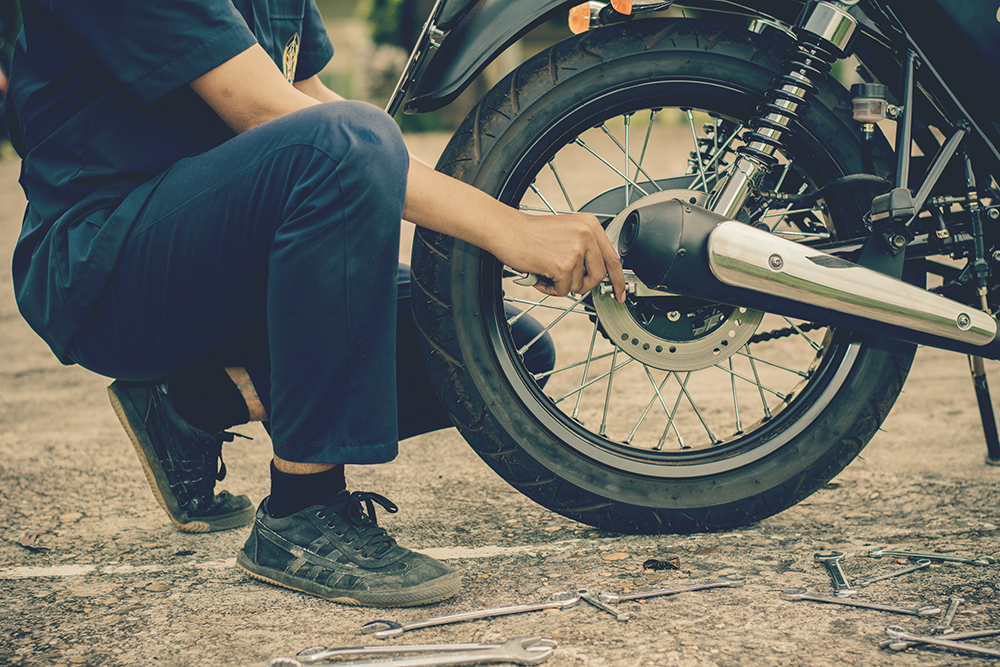
- Drum brakes are much less complicated because they are an enclosed system, but this also makes it a bit harder to get to the brake shoes for evaluation. You will have to pull off your wheel (which wheel depends on the bike) and remove the drum cover to check your brake shoes. Check your manual for details on how to this and replace your brake shoes if necessary.
Check your Tires: “Keep the rubber side down and the shiny side up.” To do this, keep an eye out for cracks and other signs of wear or damage. If the bike has been sitting, spring for some new tires. Make sure you know if you need tubes and go get lost in tire heaven!
Heaven? Wait, are we done? Did you finally do it? Well yes technically by completing this, and the first, list of tasks needed to rebuild, you have indeed successfully rebuilt your bike into its now drivable condition. Congratulations to you! Now tune back in again next month to learn more about how to customize your bike for those last few finishing touches that will make you the envy of the road.
Don’t forget, if you feel overwhelmed, you can always ask for help. There is a massive moto community out there eager to assist you, if you’re willing to learn. Remember, any time you disassemble an engine component, replace the related gaskets and seals. Ensure even wear for your parts, and a reliable seal that keeps out oil, water, and dirt that can compromise performance. Gasket King maintains an inventory of over 12,000 aftermarket gaskets for motorcycles made by all the greats. Choose from our extensive inventory, or send us your drawings and specs for a custom fabrication. When you need quality replacement gaskets for your vintage bike, call Gasket King at 817.562.8178, shop online today or complete the online contact form to send us a question or learn more.